
How to Play XBLA Games on Aurora
Hey there, fellow gamer! So, you’ve got a bunch of XBLA (Xbox Live Arcade) games and you’re itching to play them on Aurora? You’re in luck! I’m here to guide you through the process in a way that’s as easy as pie. Whether you’re a seasoned gamer or just starting out, this guide will help you get your games up and running on Aurora with minimal hassle. Let’s dive in! Have the Best information about بت 303.
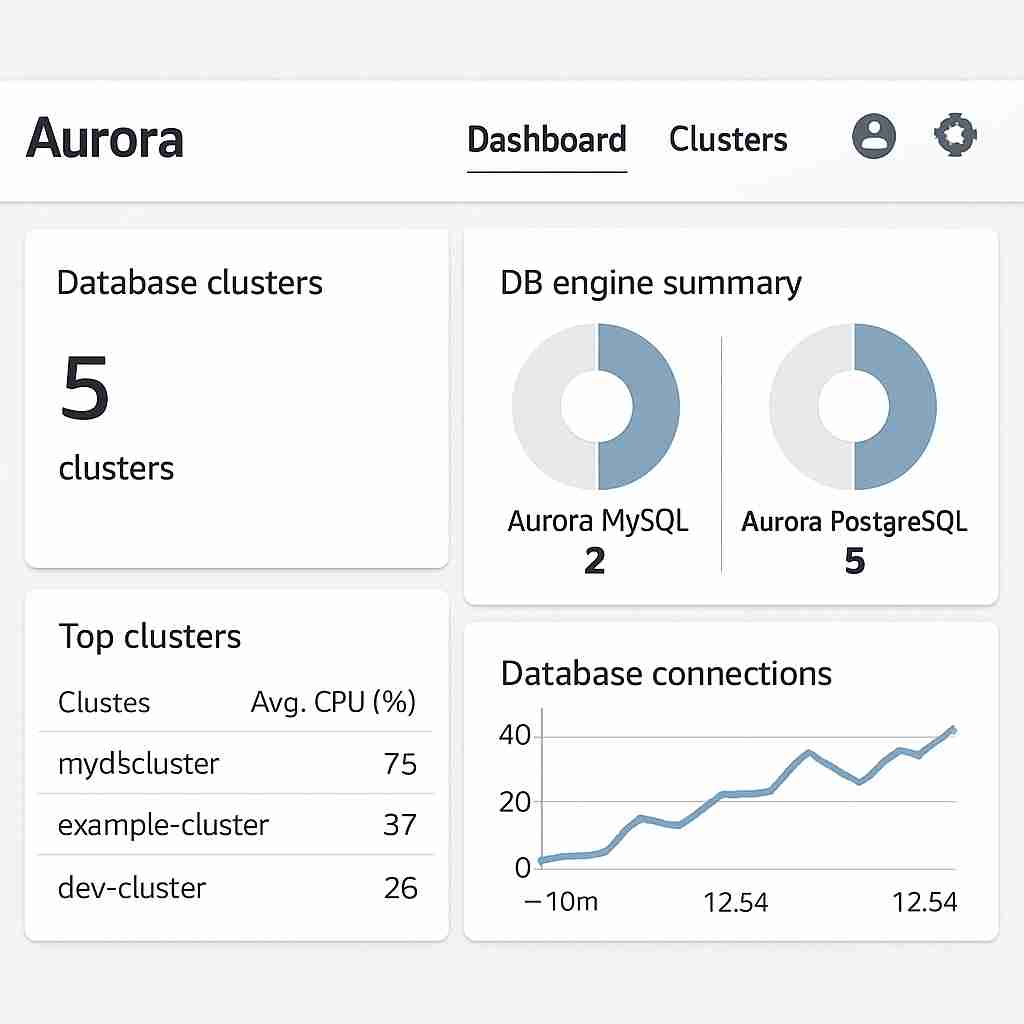
First things first, let’s get acquainted with Aurora. Aurora is a custom dashboard for Xbox 360 that offers a sleek, easy-to-use interface for managing your games. It’s a favorite among gamers for its ability to organize and launch games seamlessly. Plus, it supports XBLA games, which makes it a great choice for playing your favorite arcade titles.
Aurora’s Unique Interface
Aurora’s interface is designed with gamers in mind. Its clean lines and intuitive navigation make it easy for anyone to jump right in. Unlike the native Xbox 360 dashboard, Aurora offers customization options that allow you to tailor the appearance and organization to suit your preferences. From easily accessible menus to a responsive design, Aurora ensures a smooth user experience.
Game Management Features
One of Aurora’s standout features is its robust game management capabilities. You can easily categorize, sort, and access your games, which is a boon for those with extensive libraries. The dashboard automatically sorts your games into categories like XBLA, retail, and indie, making it a breeze to find what you’re looking for. Moreover, its search functionality allows you to locate specific titles in seconds.
Support for XBLA Games
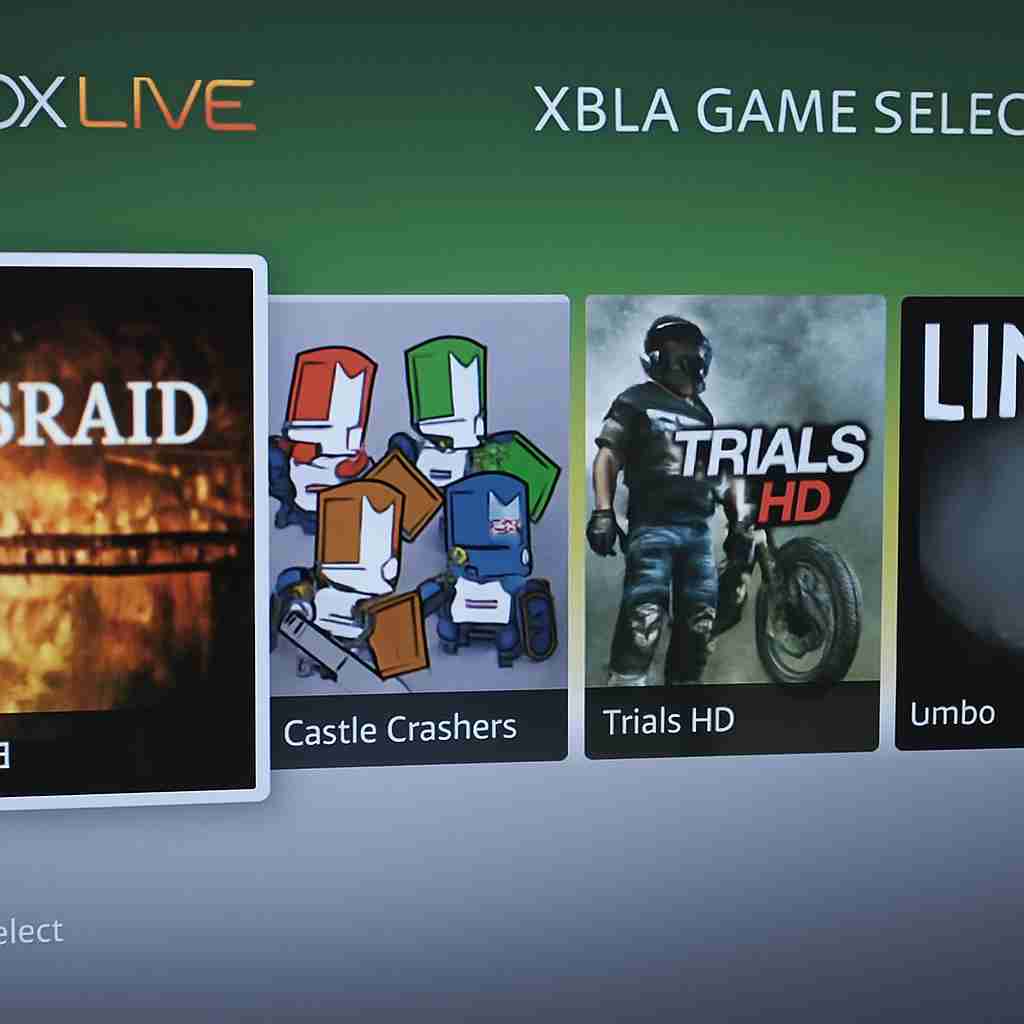
Aurora’s compatibility with XBLA games is a significant draw for many gamers. Not only does it support these games, but it also enhances the gaming experience with additional features like game covers, information, and updates. This makes your library not only functional but also visually appealing, adding a layer of immersion to your gaming sessions.
Getting Started with Aurora
Before we jump into the fun stuff, let’s go through the basics of setting up Aurora. If you haven’t installed Aurora on your Xbox 360 yet, don’t worry-I’ve got you covered.
Installing Aurora on Xbox 360
- Download Aurora: Head over to the official Aurora website and download the latest version of the software. Make sure you have a USB drive handy. The website is user-friendly and guides you through the download process, ensuring you get the correct version for your Xbox 360.
- Transfer to USB: Once downloaded, extract the files and transfer them to your USB drive. It’s important to ensure the files are correctly extracted; otherwise, the installation might fail. Use a reliable file extraction tool to avoid any issues.
- Set Up on Xbox 360: Plug the USB into your Xbox 360. Navigate to the file manager, locate your USB drive, and launch the Aurora installer. This step is crucial as it initiates the installation process on your console. Ensure your Xbox 360 is connected to a stable power source to prevent interruptions.
- Follow the Prompts: Follow the on-screen instructions to complete the installation. It’s pretty straightforward, and you’ll have Aurora up and running in no time. The prompts are designed to guide you step by step, minimizing the risk of errors during setup.
Configuring Initial Settings
After installation, configuring Aurora’s initial settings is essential for optimal performance. Start by setting your preferred language and region settings to ensure the dashboard operates smoothly. Adjust the display settings to match your screen resolution for the best visual experience.
Connecting to the Internet
Connecting Aurora to the internet opens up a world of possibilities. You’ll be able to download updates, access online features, and even browse community plugins. Ensure your console is connected to a stable Wi-Fi network, and configure your network settings within Aurora to get started.
Playing XBLA Games on Aurora
Alright, now that you’ve got Aurora set up, it’s time to get those XBLA games ready to play. Here’s what you need to do:
Step 1: Organize Your Games
Before diving into gaming, it’s essential to organize your XBLA games on your storage device. Make sure they are in a folder that Aurora can access. This will make it easier for Aurora to find and display your games.
Creating a Game Folder Structure
Begin by creating a dedicated folder on your storage device for your XBLA games. A well-organized folder structure ensures that Aurora can quickly locate and index your games. Consider categorizing your games into subfolders based on genre or alphabetically for easier navigation.
Ensuring File Compatibility
Ensure that your game files are compatible with Aurora. This includes verifying that the game files are in the correct format and that any necessary patches or updates are applied. Incompatible files may not load correctly, so it’s crucial to double-check before proceeding.
Backing Up Your Games
Before you start moving files around, it’s wise to back up your games. This ensures that you won’t lose any data in case of accidental deletion or corruption during the transfer process. Use an external hard drive or cloud storage service for added security.
Step 2: Load Your Games into Aurora
- Access Aurora: Boot up your Xbox 360 and open Aurora. Familiarize yourself with the main dashboard interface, which will be your hub for managing and launching games.
- Scan for Games: Go to the settings menu and select the option to scan for new games. Aurora will automatically search for games stored on your device. This process may take a few minutes, depending on the size of your library.
- Add Game Paths: If Aurora doesn’t find your games, you might need to manually add the path where your games are stored. Go to the paths menu and add the directory where your XBLA games are located. This ensures Aurora knows exactly where to look.
- Refresh the Library: Once the paths are set, refresh your game library. Aurora will now display all the games it found, including your beloved XBLA titles. The refreshed library should be neatly organized and ready for you to dive into.
Step 3: Customize Your Experience
Aurora isn’t just about launching games; it’s about enhancing your gaming experience. Here’s how you can make the most of it:
Themes and Skins
Personalize your dashboard with themes and skins. There are plenty of options available online to give your Aurora a unique look. Changing themes can refresh your user experience and make your dashboard visually appealing. Experiment with different styles until you find one that suits your taste.
Game Covers and Details
Download game covers and additional information to make your library visually appealing and informative. High-quality covers can add an extra layer of immersion, making it easier to browse and select games. Detailed game descriptions provide insights and tips, enriching your overall gaming experience.
Plugins and Scripts
Explore plugins and scripts that can add new features and functionalities to Aurora. From weather updates to file management tools, there’s a lot you can do! Installing plugins is straightforward, and they can significantly enhance your dashboard’s capabilities. Check out the Aurora community for recommended plugins and user-created scripts.
Troubleshooting Common Issues
Even the best setups can hit a snag now and then. If you encounter any hiccups, here are some common issues and their solutions:
Game Not Showing Up
If a game isn’t appearing in Aurora, double-check the file path and ensure the game files are correctly named and organized. Sometimes a simple typo can cause Aurora to overlook a game.
Verifying File Integrity
Begin by verifying the integrity of your game files. Corrupted or incomplete files can prevent games from appearing in Aurora. Use file verification tools to check the status of your game files and re-download if necessary.
Checking for Compatibility
Ensure that the game is compatible with Aurora. Some XBLA games may require specific patches or updates to run correctly. Consult gaming forums or the Aurora community for compatibility tips and solutions.
Adjusting File Paths
If your games are still not showing up, revisit the file paths you’ve set in Aurora. Ensure that they are correctly pointing to the game directories. A small error in the path can lead to games being missed during scans.
Game Fails to Launch
If a game crashes or doesn’t start, verify that your game files aren’t corrupted. You might need to re-download or re-transfer them to your storage device.
Checking for Updates
Outdated game files can lead to launch issues. Check for any available updates or patches for the game and apply them before attempting to launch again. Keeping your games up to date can resolve many compatibility issues.
Ensuring Adequate Storage
Insufficient storage space can also cause games to fail to launch. Ensure your storage device has enough free space for the game and its associated files. Consider deleting unused files or transferring data to an external drive to free up space.
Consulting the Community
When all else fails, consulting the gaming community can be invaluable. Online forums and support groups are full of experienced gamers who can offer solutions and insights into common launch issues.
Aurora Not Starting
If Aurora itself isn’t launching, ensure it’s installed in the correct directory. You can try reinstalling it if necessary, following the same steps outlined earlier.
Checking Installation Files
Begin by checking the installation files for any corruption or missing components. Reinstalling Aurora with a fresh download can resolve many issues related to incomplete installations.
Reviewing System Requirements
Ensure that your Xbox 360 meets the system requirements for running Aurora. Although it’s designed to be lightweight, certain configurations may require specific settings to be adjusted.
Seeking Technical Support
If you’re still experiencing issues, consider reaching out for technical support. The Aurora community and support forums can provide assistance and troubleshooting advice from seasoned users.
Wrapping Up
And there you have it! With Aurora, playing XBLA games is not only possible but also incredibly fun and straightforward. By following these steps, you’ll be enjoying your favorite arcade titles in no time. Remember, gaming is all about having a good time, so don’t stress if things don’t go perfectly on the first try. Keep experimenting and tweaking your setup until it feels just right for you.
Sharing Your Setup
Once you’ve got everything running smoothly, consider sharing your setup with the gaming community. Whether it’s through forums, social media, or gaming groups, sharing your experience can help others and even lead to discovering new tips and tricks.
Exploring New Features
Stay curious and explore new features within Aurora. The dashboard is constantly evolving, with new updates and plugins being developed by the community. Staying up to date ensures you’re always getting the best out of your gaming experience.
Continuous Improvement
Gaming setups are never truly finished. As you continue to use Aurora, you’ll discover new preferences and ways to enhance your setup. Embrace this journey of continuous improvement and enjoy every moment spent with your favorite games.
Happy gaming, and may your scores be high and your load times low! If you run into any more questions or just want to share your gaming setup, feel free to drop a comment. We’re all in this gaming journey together, after all!